
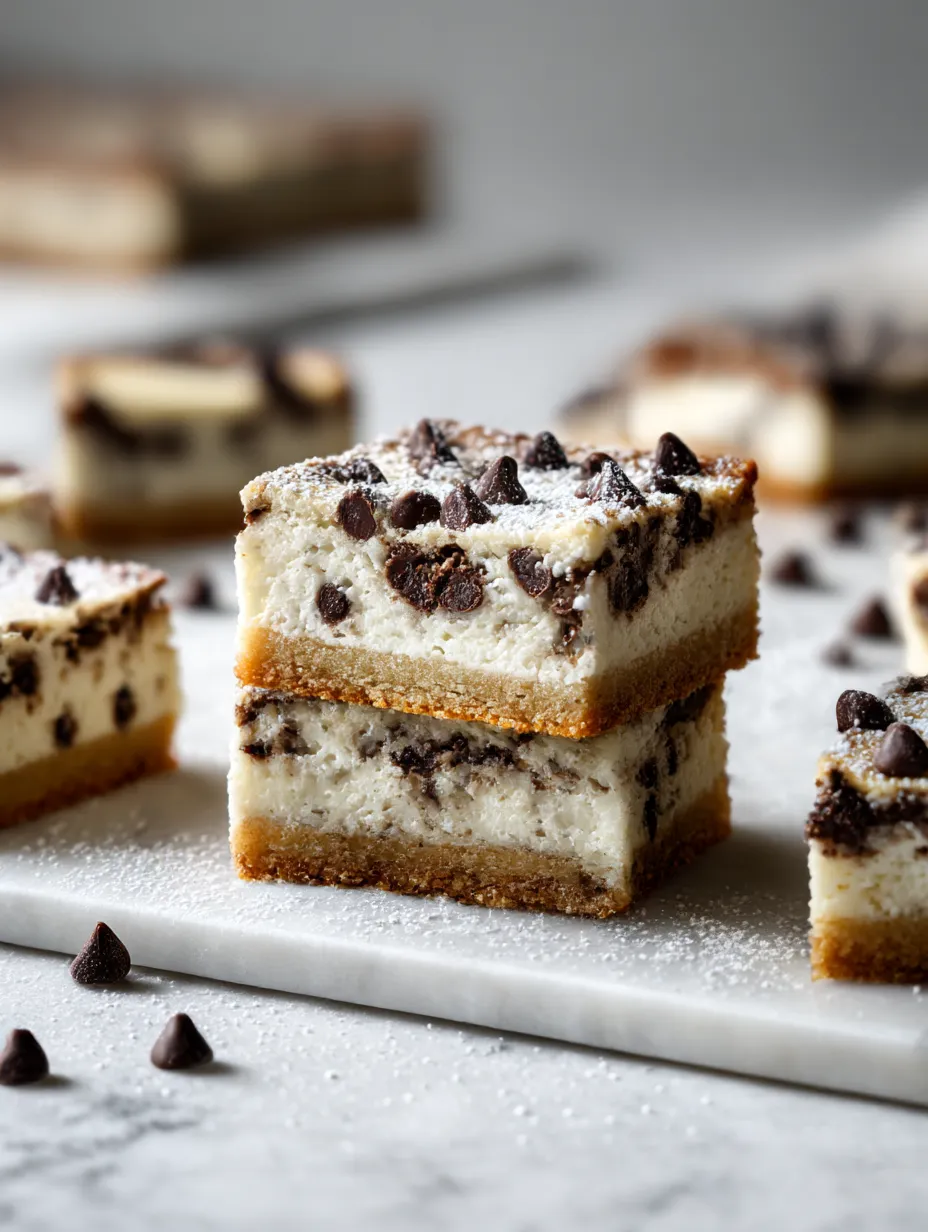
When you can’t decide between chocolate chip cookies and creamy cheesecake, why choose? These keto chocolate chip cheesecake bars deliver the perfect marriage of two beloved desserts – a buttery cookie crust topped with rich, velvety cheesecake studded with sugar-free chocolate chips. It’s like having your cake and eating it too, except better and completely keto-friendly.
Recipe Quick Facts
| Detail | Information |
|---|---|
| Prep Time | 20 minutes |
| Bake Time | 45-50 minutes |
| Chill Time | 4 hours minimum |
| Total Time | 5+ hours |
| Servings | 16 bars |
| Net Carbs | 2.9g per bar |
| Calories | 245 per bar |
Table of Contents
Why These Bars Are The Ultimate Dessert Mashup
I created this recipe for those moments when you’re torn between two dessert cravings. These aren’t just cheesecake bars with some chocolate chips thrown in – they’re architecturally designed layers of indulgence. The bottom features a tender, cookie-like crust that tastes like the best keto chocolate chip cookies you’ve ever had. Above that sits a cloud of perfectly sweetened cheesecake filling dotted with premium sugar-free chocolate chips, topped with crumbles of additional cookie dough.
The result? Each bite delivers the chewy satisfaction of a freshly baked cookie paired with the luxurious creaminess of New York-style cheesecake – all while staying perfectly within your keto macros.
The Science of Perfect Cheesecake Bars
Creating flawless cheesecake bars requires understanding a few key principles that many recipes overlook:
Temperature control prevents cracking and ensures silky texture. Proper layering creates distinct textures without bleeding together. Strategic cooling allows flavors to meld while maintaining structural integrity.
The secret to preventing cracks lies in gentle mixing, gradual temperature changes, and the perfect balance of ingredients that I’ve perfected through extensive testing.

Premium Ingredients for Maximum Impact
Cookie Crust Layer:
- 2 cups super-fine blanched almond flour
- ½ cup brown sugar substitute (Swerve Brown or Lakanto Golden)
- 6 tablespoons unsalted butter, melted
- 1 large egg
- 1 teaspoon vanilla extract
- ½ teaspoon baking soda
- ¼ teaspoon fine sea salt
- ¾ cup sugar-free chocolate chips, divided
Creamy Cheesecake Layer:
- 24 oz cream cheese, room temperature (three 8-oz packages)
- ¾ cup powdered erythritol sweetener
- 3 large eggs, room temperature
- ⅓ cup sour cream
- 2 teaspoons vanilla extract
- Pinch of salt
Optional Enhancements:
- 2 tablespoons heavy cream (for extra richness)
- 1 teaspoon lemon juice (brightens flavor)
- Extra chocolate chips for topping
Step-by-Step Instructions
Preparing Your Workspace
- Preheat and prep: Heat oven to 325°F (163°C). Line a 9×13-inch baking pan with parchment paper, leaving overhang for easy removal. Lightly grease the parchment.
- Ingredient temperature check: Ensure all cheesecake ingredients are at room temperature. This is crucial for smooth mixing and preventing lumps.
Creating the Cookie Crust
- Mix dry ingredients: In a medium bowl, whisk together almond flour, brown sugar substitute, baking soda, and salt.
- Combine wet ingredients: In another bowl, whisk melted butter, egg, and vanilla until smooth.
- Form cookie dough: Add wet ingredients to dry, mixing until a cohesive dough forms. Fold in ½ cup of chocolate chips, reserving the rest.
- Press and pre-bake: Press about ¾ of the dough into the prepared pan, creating an even layer. Reserve remaining dough for topping. Bake for 12-15 minutes until lightly golden but not fully set.
Crafting the Cheesecake Layer
- Beat cream cheese: In a large bowl, beat cream cheese with an electric mixer on medium speed for 2-3 minutes until completely smooth and fluffy. Scrape bowl frequently.
- Add sweetener: Gradually beat in powdered erythritol until well combined and no grittiness remains.
- Incorporate eggs gently: Add eggs one at a time, beating on low speed just until incorporated. Overbeating creates air bubbles that cause cracking.
- Finish the filling: Beat in sour cream, vanilla, and salt until just smooth. Don’t overmix.
Assembly and Baking
- Layer the filling: Pour cheesecake mixture over the warm crust, spreading gently to edges.
- Add toppings: Sprinkle remaining chocolate chips over the surface. Break reserved cookie dough into small pieces and dot over the top.
- Bake with precision: Bake for 35-40 minutes. The center should still have a slight jiggle when gently shaken – it will continue setting as it cools.
- Cool gradually: Turn off oven, crack door open, and let bars cool in oven for 1 hour. This prevents sudden temperature changes that cause cracking.
- Final cooling: Remove from oven and cool completely at room temperature, then refrigerate for at least 4 hours or overnight.
Professional Tips for Perfect Results
Room temperature matters: Cold cream cheese creates lumps that never fully disappear. Plan ahead and let ingredients come to room temperature naturally.
Don’t overbeat: Once eggs are added, mix just until combined. Overbeating incorporates air that expands during baking and contracts during cooling, causing cracks.
Water bath alternative: Place a pan of hot water on the bottom oven rack to create steam, which helps prevent cracking and keeps the surface smooth.
Perfect slicing: Use a sharp knife warmed in hot water, wiping clean between cuts. This creates clean, bakery-style edges.
Patience pays: These bars taste significantly better after overnight chilling. The flavors meld and the texture becomes perfectly creamy.
Troubleshooting Common Issues
Cracked surface: Usually caused by overbaking, overbeating, or rapid temperature changes. Use the gradual cooling method and check doneness early.
Grainy texture: Cream cheese wasn’t fully softened or sweetener wasn’t properly incorporated. Always use room temperature ingredients and beat cream cheese thoroughly before adding other ingredients.
Soggy crust: The cookie layer wasn’t pre-baked long enough. It should be lightly golden before adding the cheesecake layer.
Bars falling apart: Not chilled long enough or cut too soon. These need at least 4 hours of refrigeration to fully set.
Too sweet/not sweet enough: Taste the cheesecake mixture before baking (it’s safe since we’re using pasteurized eggs). Adjust sweetener to your preference.

Creative Variations
Flavor Combinations:
- Double Chocolate: Add 2 tablespoons cocoa powder to the crust for intense chocolate flavor
- Salted Caramel: Drizzle with keto chocolate chip brownies caramel sauce before serving
- Peanut Butter Swirl: Add 2 tablespoons natural peanut butter to cheesecake layer, swirl before baking
- Berry Bliss: Top with fresh strawberries or a sugar-free berry compote
Seasonal Adaptations:
- Holiday Spice: Add ½ teaspoon cinnamon and ¼ teaspoon nutmeg to the crust
- Orange Chocolate: Add 1 tablespoon orange zest to cheesecake layer
- Mint Chocolate: Use sugar-free mint chocolate chips
No-Bake Version
For hot summer days or when you want to skip the oven:
- Prepare crust: Mix crust ingredients and press into pan. Chill for 30 minutes instead of baking.
- Whip the filling: Beat cream cheese until fluffy, add sweeteners and flavorings. In a separate bowl, whip 1 cup heavy cream to soft peaks, then fold into cream cheese mixture.
- Set and serve: Pour over crust, add toppings, and refrigerate for 4-6 hours until firm.
Mini Cheesecake Bar Version
Perfect for parties and portion control:
- Use muffin tins: Line 24 mini muffin cups with paper liners or grease well.
- Scale portions: Use 1 tablespoon crust mixture per cup, 2 tablespoons filling.
- Adjust timing: Bake for 18-22 minutes, cool in pan for 15 minutes before removing.
- Perfect presentation: Top each mini bar with a few chocolate chips and a small dollop of sugar-free whipped cream.
Storage and Make-Ahead Strategies
Refrigerator storage: Keep covered for up to 5 days. The flavor actually improves after day 2.
Freezing whole bars: Wrap tightly in plastic wrap, then aluminum foil. Freeze for up to 3 months. Thaw overnight in refrigerator.
Individual portions: Cut into bars, wrap individually, and freeze. Perfect for grab-and-go keto treats.
Make-ahead timeline: These can be made up to 3 days in advance. In fact, they’re better after sitting overnight as flavors develop and meld together.
Nutritional Benefits You’ll Love
Almond flour provides healthy fats, protein, vitamin E, and magnesium while keeping carbs remarkably low.
Full-fat cream cheese delivers satisfying richness and helps maintain ketosis with its high fat content.
Quality sugar-free chocolate satisfies sweet cravings without blood sugar spikes, using natural sweeteners.
Moderate portions provide impressive satisfaction – one bar feels like a complete dessert experience rather than leaving you wanting more.
Perfect for Special Occasions
These keto chocolate chip cheesecake bars are elegant enough for dinner parties yet approachable for family gatherings. The beautiful layers create an impressive presentation that rivals any traditional dessert.
Holiday entertaining: Make a double batch and cut into smaller pieces for dessert platters.
Birthday celebrations: Top with sugar-free whipped cream and a single candle for a special keto birthday treat.
Potluck perfection: Transport easily and serve directly from the pan – no plating required.
Date night dessert: Cut into larger portions and serve with keto chocolate chip ice cream for restaurant-quality indulgence at home.
More Keto Dessert Bar Recipes
If you love the convenience and elegance of bar desserts, try these related recipes:
- Keto chocolate chip cookie bars for pure cookie indulgence
- Keto chocolate chip muffins for individual portions
- Keto chocolate chip pancakes for breakfast dessert vibes
- Keto chocolate chip scones for elegant tea time treats
Frequently Asked Questions
Can I use coconut flour instead of almond flour in these keto chocolate chip cheesecake bars?
No, coconut flour and almond flour behave very differently in baking. Coconut flour absorbs much more liquid and would create a dry, crumbly crust. Stick with finely ground blanched almond flour for the best texture and flavor.
How do I prevent my cheesecake bars from cracking?
The key is avoiding overbeating once eggs are added, using room temperature ingredients, and cooling gradually. Mix the filling just until smooth, bake until the center still has a slight jiggle, and cool in the turned-off oven with the door cracked open for one hour before removing.
What’s the best sugar-free chocolate chips for this recipe?
Lily’s Dark Chocolate Chips are my top choice because they melt beautifully and have the best flavor. ChocZero is another excellent option. Both use natural sweeteners and have great melting properties that work perfectly in these bars.
Can I make these bars ahead of time for a party?
Absolutely! These bars are actually better when made 1-2 days ahead. The flavors meld together beautifully, and the texture becomes perfectly creamy. Store covered in the refrigerator and cut just before serving for the cleanest presentation.
How many net carbs are in each bar compared to regular cheesecake bars?
Each of these keto bars contains only 2.9g net carbs, while traditional cheesecake bars typically contain 25-35g carbs. That’s a 90% reduction in carbs while maintaining all the flavor and satisfaction of the original dessert!
These keto chocolate chip cheesecake bars represent the perfect fusion of two classic desserts, proving that you don’t have to choose between your cravings when following a ketogenic lifestyle. With their elegant layered presentation, incredible flavor, and impressive nutritional profile, they’re destined to become your go-to dessert for both everyday indulgences and special occasions. The combination of textures – from the tender cookie crust to the silky cheesecake filling – creates a dessert experience that satisfies on every level while keeping you perfectly on track with your keto goals.
FIND ME ON PINTEREST
Discover mouth-watering recipes, kitchen tips, and food inspiration!
I’m always pinning delicious ideas just for you! 😋